
 Science Daily: Mars
- Surprising insights about debris flows on Mars March 14, 2024
- Giant volcano discovered on Mars March 13, 2024
Science Daily: Uranus
- New images reveal what Neptune and Uranus really look like January 5, 2024
- Ringing in the holidays with ringed planet Uranus December 19, 2023
Science Daily: Pluto
- How Pluto got its heart April 15, 2024
- Evidence of geothermal activity within icy dwarf planets February 15, 2024
Science Daily: Kuiper Belt
- How Pluto got its heart April 15, 2024
- Evidence of geothermal activity within icy dwarf planets February 15, 2024
This was shortly after (I think) some work to improve the collimation on the Ritchey-Chretien. I don’t know why I didn’t concentrate on a single target, but I jumped around from several last March, so once again I have mediocre data on all.
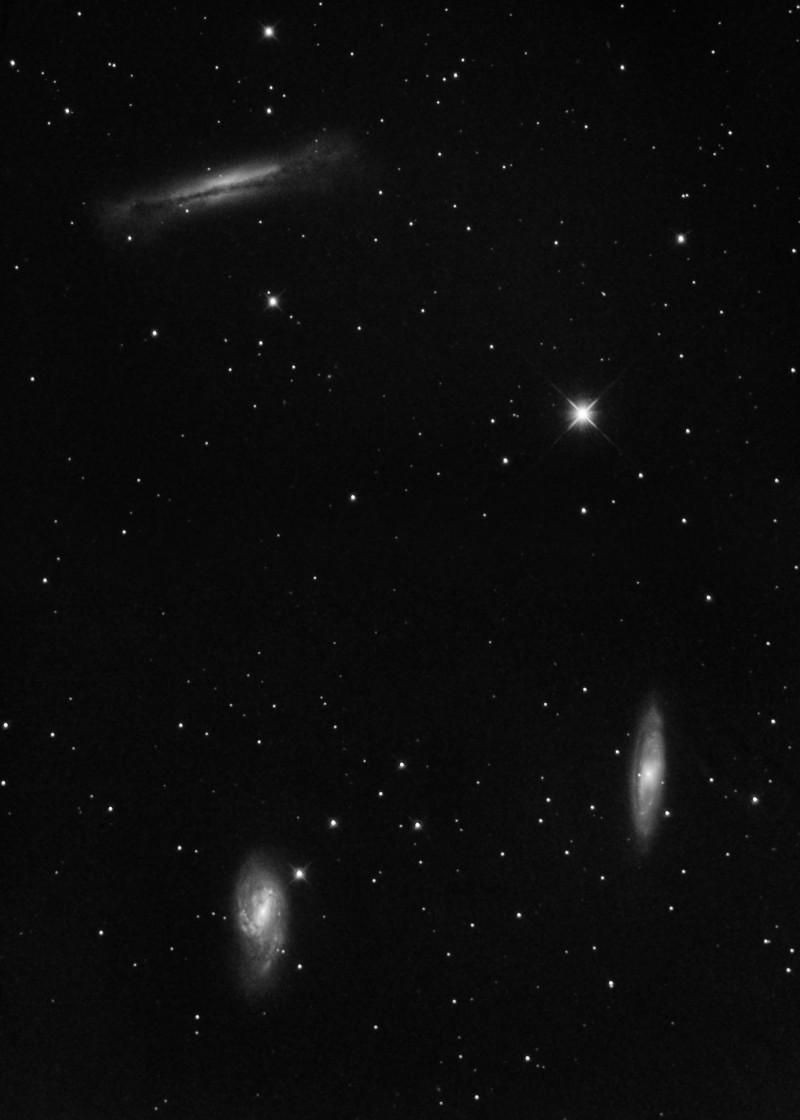
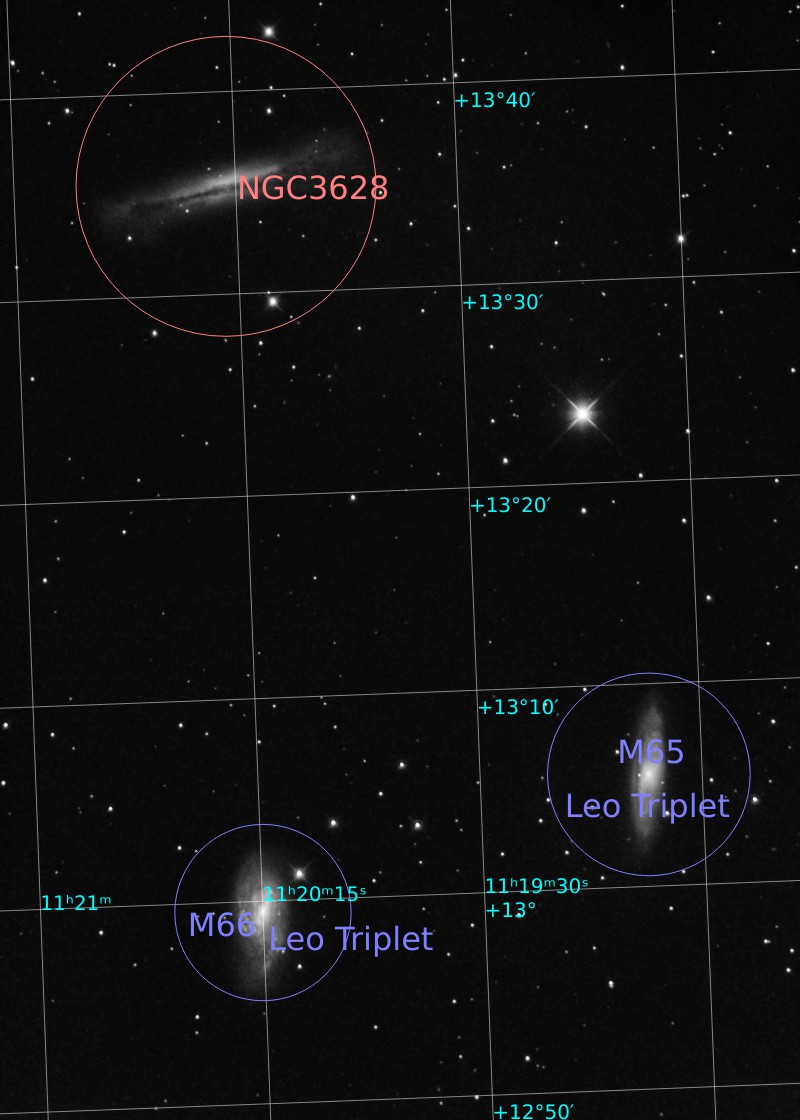
| Object | M65, M66, NGC 3628 |
| Camera | ASI1600MM-Pro, Luminance Only |
| Lens/Scope | AstroTech RC6 |
| Exposure | 130 x 30 sec Upper Panel 88 x 30 sec Lower Panel |
| Location | Bay Ridge, Brooklyn, NY |
| Processing | PixInsight |
I’m not sure why I didn’t take an equal number of frames for the two panels; I started with 160 for the upper and 100 for the lower. Looking at the altitude numbers in the FITS headers, I probably just ran out of time, or maybe clouds moved in. The timestamps show I was alternating between panels on both March 10th and 13th, so I was trying to make sure I got groups of frames of each section under similar conditions.
This isn’t too bad considering the underlying noise in the image. I think the biggest thing I learned that was of use for this was how to use Range Extension when stretching images. I did that several times to tease the galaxy detail out from the background, but at the end of the day, I need several hours of data shooting at f/9. And remember, this is from Brooklyn with Bortle 8 skies, so the other “easy” solution would be to drive down the sky levels by driving out of town.
In the fall of 2020, I had also purchased the heater kit for this camera and decided to replace the dessicant. The latter involves opening up the camera which is unfortunate. I managed to touch the sensor cover with a greasy finger and then had to clean it. I did not do well. Using 90% isopropyl alchohol and some wipes I ended up with a faint watermark and worse, a piece of lint on the sensor. The flats are not working to calibrate out the resulting shadows.
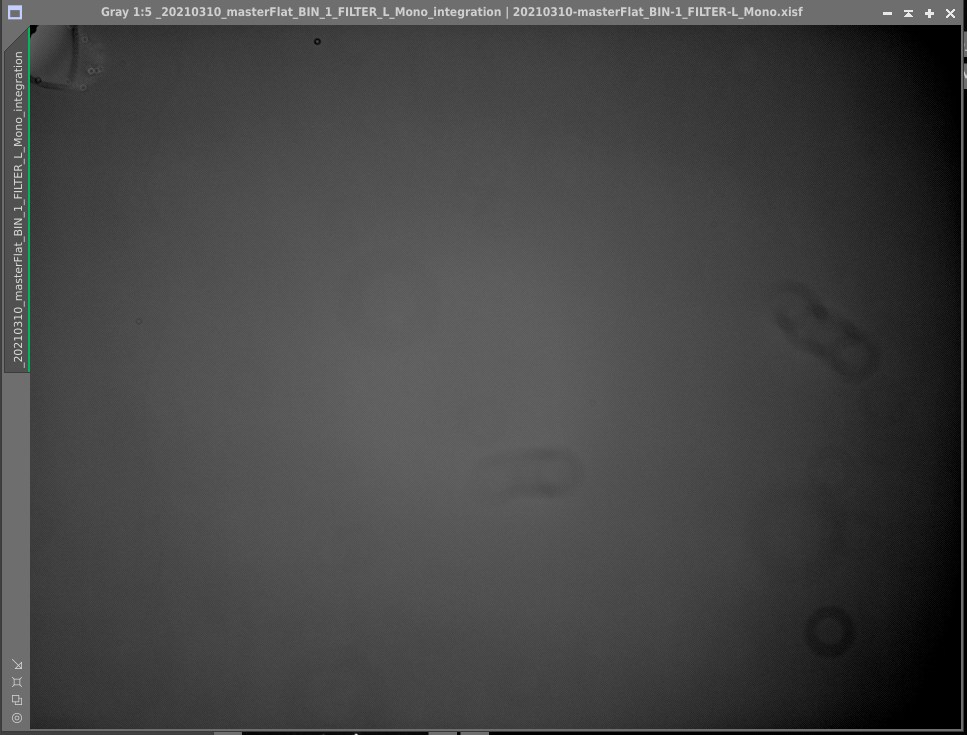
The flat is not bad, if a bit underexposed, and most of the defects are removed. With noisy images, I ended up with some traces of that chain of donuts on the right still creeping through, but if I’d had more exposure, it would probably have not been noticeable since I wouldn’t have been stretching enough to bring it out. But the real problem is that upper left.
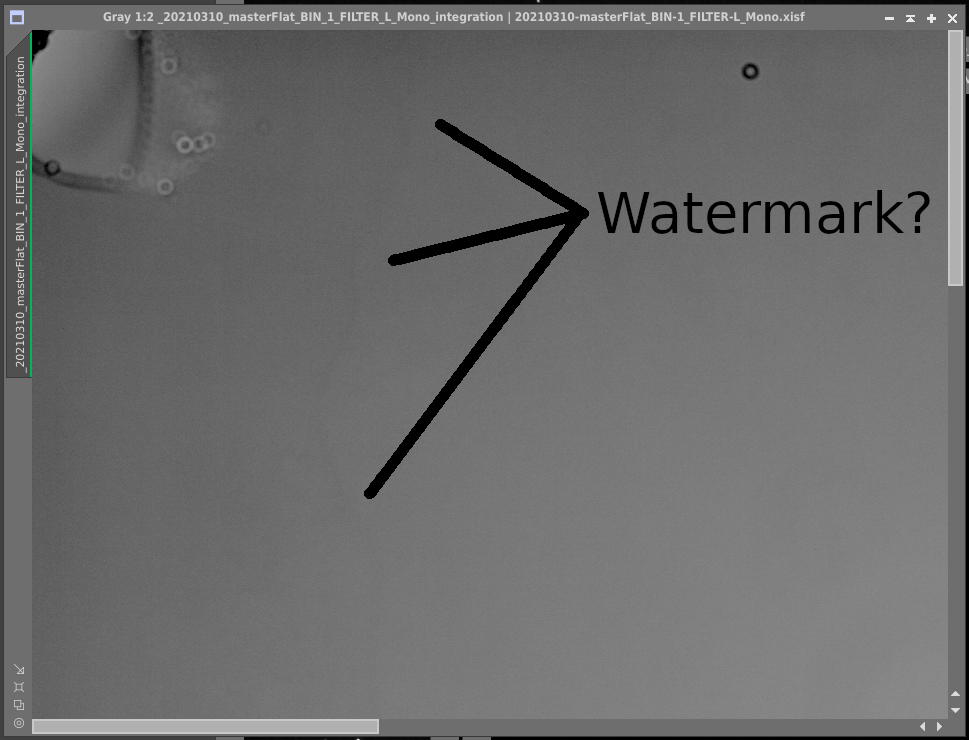
I’m not sure if you can see the watermark on the above image; it is very subtle in this linear stage.
The simplest solution for badge edges, of course, is to just arrange the images so you can crop that part out and be done. Alas, my framing on one panel allowed that, but the other didn’t. My attempts to create a mosaic using the linear images simply failed; I couldn’t get the levels to match well enough and the flats aren’t doing the job. multiple steps of trying to model the background and correct the vignetting also failed to get the frames to match.
I’ve ordered a sensor cleaning kit and some 99% isopropyl alcohol, so I’m going to have another go at cleaning the sensor and trying this time to keep the lint out and hopefully eliminate the watermark as well.
I was already pretty sure that the optical and mechanical axes of my AT RC6 were not coincident and the flat kind of confirms that. The best instructions I found for doing a collimation that don’t rely on the mechanical alignment are from Deep Sky Instruments, and their PDF instructions are great. Then recently I also found there is a design issue with the baffle that allows in stray light and may explains why two sets of flats taken in slightly different way on the same night show about a 4% spread in the histogram when I divide one by the other. I’m hoping to print a baffle extension that solves that soon.