Modeling the Moon’s Phases

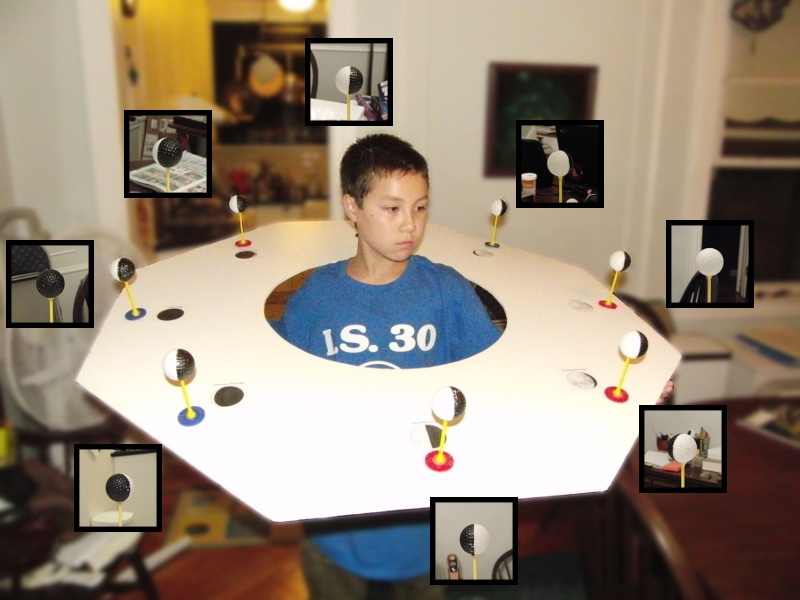
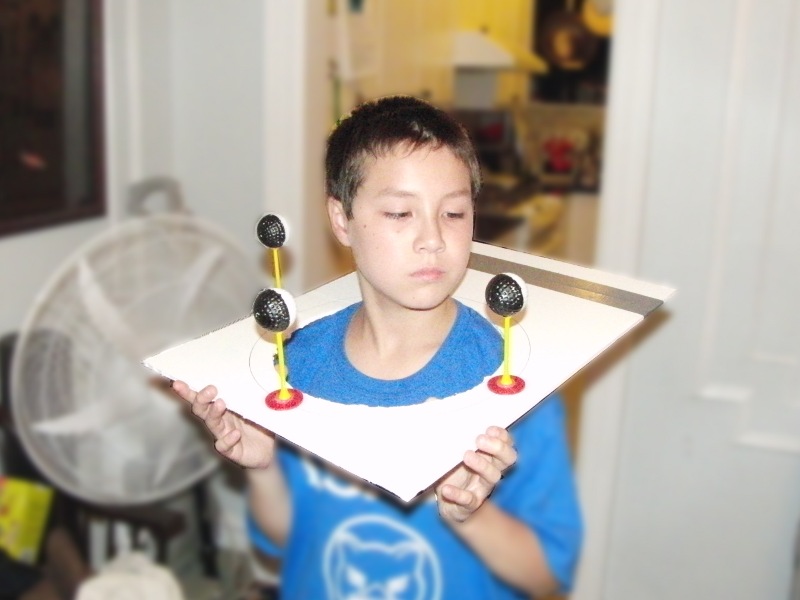
I originally built these models a couple of years ago, but didn’t realize it was something “novel” until I got some comments at this past year’s NEAF where I had brought them for the children’s section. Quite frankly, I think it works well with adults, too, as I’ve heard some well-educated adults propagating common misconceptions about what causes the phases of the moon. The idea is simple enough. One side of the moon is illuminated by the Sun, the other is not. As the moon goes around the Earth, the relative geometry of the Earth, Moon, and Sun changes, but the half of the moon facing the Sun is always illuminated and the other half is not.  So, we create a 3D model where you can put your head in the place of the Earth and look at the moon at different positions in its orbit. Here’s my son Matthew modeling the model.

 Around the edge of the main image, I’ve inserted photos of what you seen when you look at the “moon.” To construct the model, I used a sheet of 40×60 foamboard and cut an 18-inch diameter hole in the model. I also trimmed the overall size to be octagonal, but that’s aesthetics. The 18-inch hole is really too large, and a 12-inch hole is more than sufficient. Each “moon” is created using a plastic practice golf ball. I drilled a small hole into the ball and hot-glued an inverted golf tee into the hole; that is, the pointy end of the tee goes into the ball. The other end of the tee was hot-glued to a cheap plastic poker chip. On the bottom of the poker chip is a round velcro pad which is used to attach the whole thing to the foamboard.  Half of each “moon” is painted black with hobby paint, the type designed for painting on plastic toys. When the whole thing is assembled, I talk about shadows and point out that from our vantage point outside the Moon’s orbit, we can see that no matter where the Moon is in its orbit, the side facing the Sun is the side that is illuminated. This makes perfect sense to the children as it matches with everyday experience. But then they put their heads in the middle and look around. I see quite a few “aha!” type expressions at that point which is the whole goal of the model. I’ve also created a mini version by cutting the foam board into quarters so it is 15×20 and then cut a 10-inch diameter hole for your head. It’s pretty cramped, and my old eyes fuzz out trying to focus on the golf balls, er, moon, being so close, but it makes for an inexpensive craft that the children can take home. With the 15×20 size, the cost per model is about $4-$5 with the understanding that you end up with some left-over parts.  Also, I don’t try to put 8 moons on the platform at once, but have the children make only 4 and let them move them around. It’s less work to build and keeps the model from getting too crowded. Here’s Matthew again, modeling the small version prototype
Moon Phases Model Small.jpg
The hole is deliberately cut off-center in the small version to allow space on one side for text. In the above prototype, I cut the hole in the center and realized I didn’t like that, so I trimmed the edge and duct-taped the piece to the other side to get the positioning I wanted.